FAQ
How to Register Inventory Data Manually
You can manually register inventory data one item at a time from the web app. To register inventory data, follow the steps below.
Click "Register" on the Inventory screen.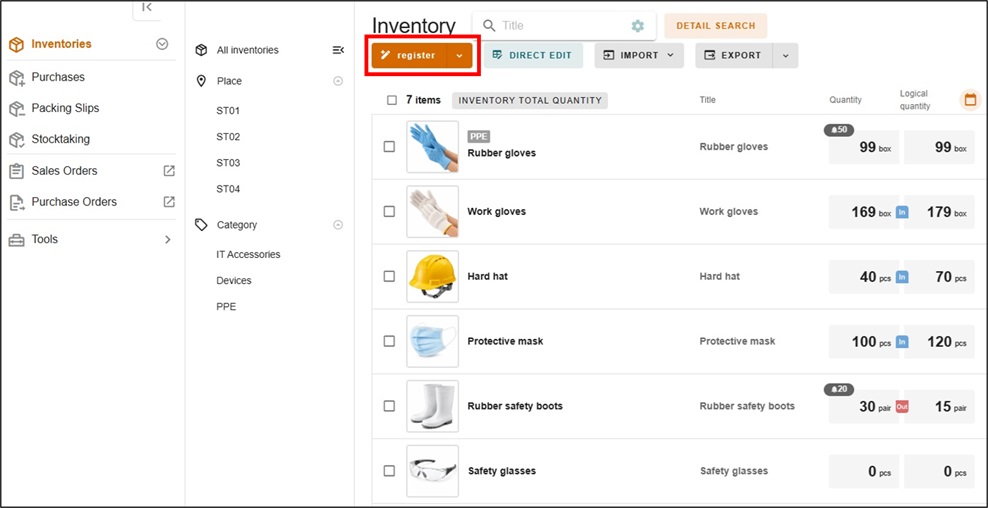
When the Inventory Registration screen appears, enter the required information.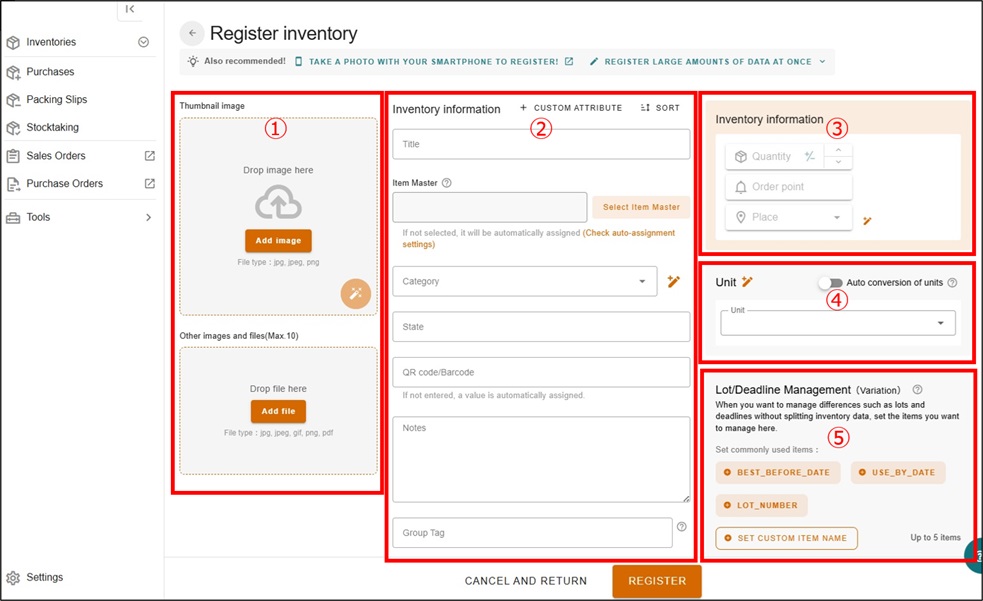
The main sections of the Inventory Registration screen are described below.
| ① Images | You can upload a thumbnail image, as well as additional images and files (PDF). You can also use AI image recognition to automatically enter information such as the item name, category, and custom attributes based on the uploaded image. |
| ② Inventory Information | Enter the item information, including standard fields and custom attributes. You can also add new custom attributes and change the display order of the fields. |
| ③ Inventory Information | Enter the quantity, order point, and storage location |
| ④ Unit | Set the unit used for inventory management. You can also use the automatic unit conversion feature. |
| ⑤ Lot/Deadline Management (Variation) | Use this feature to manage inventory by lot number, expiration date, or other variations. |
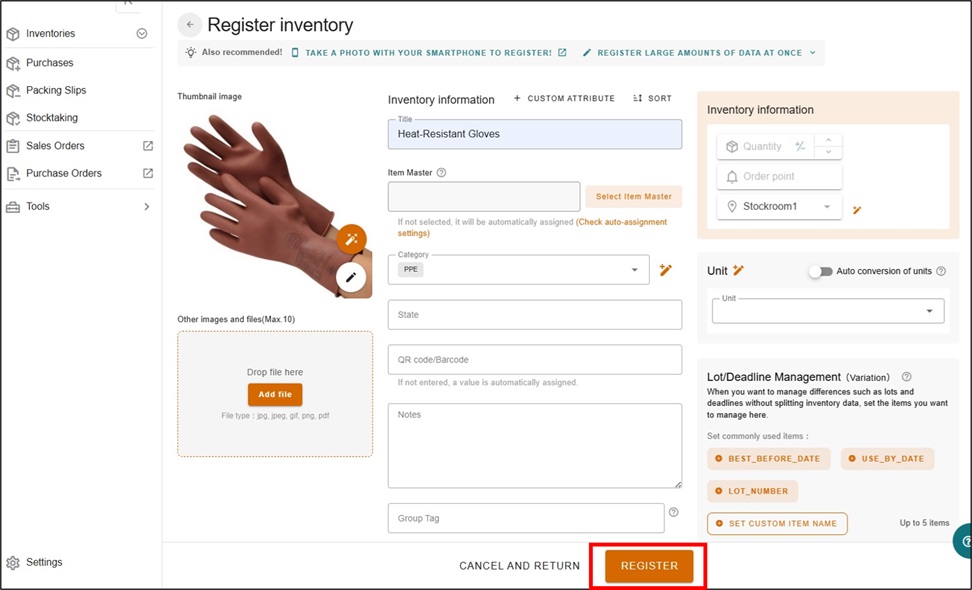
After entering the required information, click "Register".